Today I wanted to share an easy way to make a sensory bag with items at home or you can simply find in the dollar store!
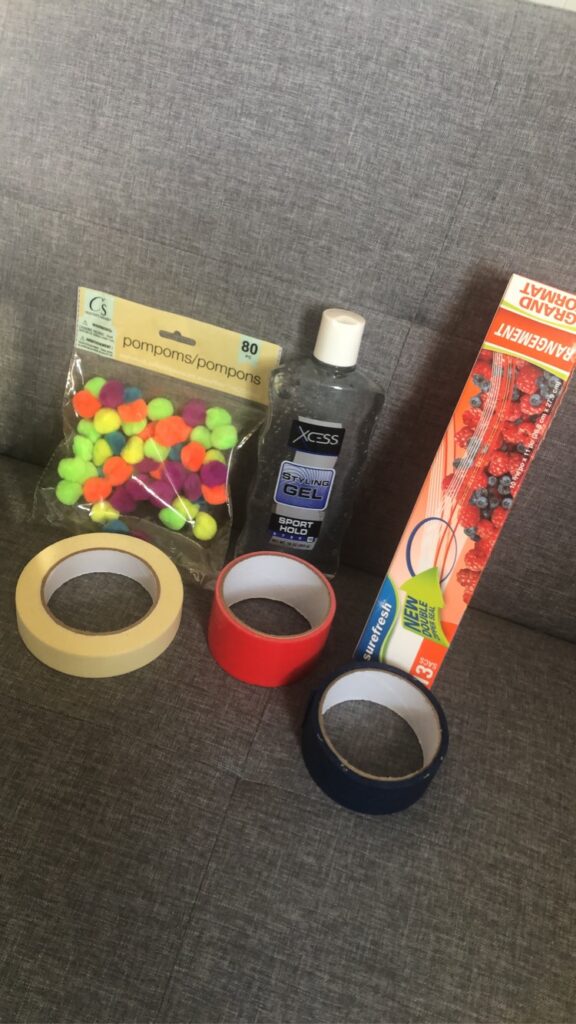
You will need: -Plastic Bags – Hair Gel – Tape EX: painters tape – Objects
- Open and squeeze hair gel into bag. The bag size will determine how much gel you use. A large bag does not need an entire bottle, but fill as you please.
- Drop objects into bag. I like the small pompom balls. They are colorful, soft, and won’t poke holes in the baggie.
- Seal the bag
- You can double bag if you feel it is safest for your child (items and gel dont come out as easily)
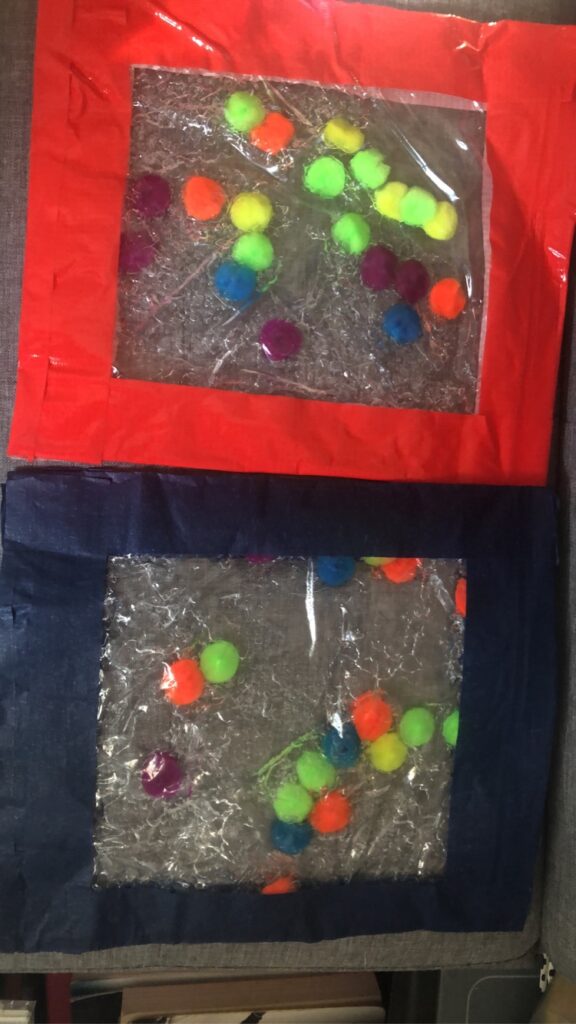
- Tape around all the sides of the bag; as if it is a border or frame. I do this a few times.
- Have Fun!
*** I recommend not having objects/ items around that could damage the baggie easily. They will eventually ware down like anything would and you should throw out and make a new one. Do not allow your child to eat gel or objects**
BONUS- you can also add in printed paper or coloring sheet inside the bag for a background.
Below are product and example pictures 🙂 Please share with us! You can Tag us on Twitter, Instagram, or Facebook (@autismangles)


